
Welcome to the first of my (hopefully) weekly Good Mood Monday posts!
My weekend has mainly consisted of working on orders and tidying up my studio. But today was slightly more exciting (ish.) After getting some run of the mill tasks finished in town this morning I came back to work on a few projects.
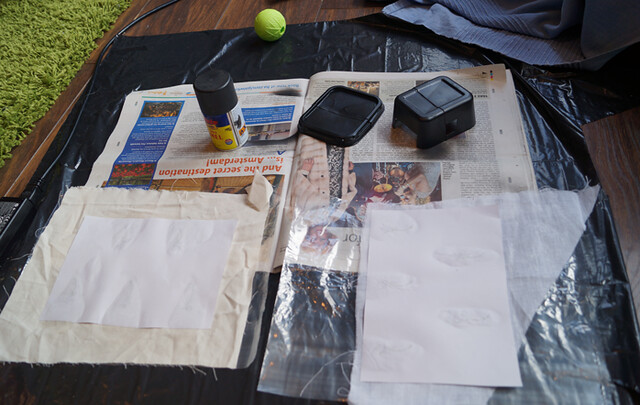
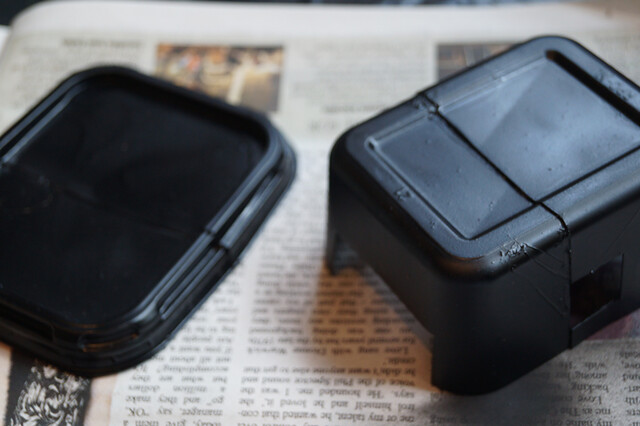
First, I’ve been designing and making an enclosure prototype for the Viking Boy’s final thesis project. Essentially it’s an adapted margarine tub with enamel spray paint on it but it actually looks pretty cool. J
It’s made to hold a raspberry pi. Which is a type of single board computer; it’s actually pretty cool as it’s about the size of a credit card (or a bit bigger once all the components he needs are attached) but is basically the same as a proper laptop or desktop computer. His project is to make a web enabled universal remote controller using the raspberry pi and his phone. Anyway as part of his thesis presentation he wanted the computer to have a cool enclosure to give the idea of what it would be like if it was manufactured as an actual product.
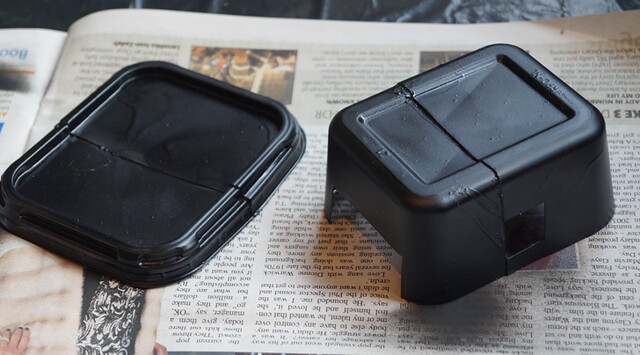
Obviously there is a massive join line across it as I had to cut down the tub, but basically the computer sits on the base part on the left and the part on the right covers all the wirings and components. I’ve cut holes where cables and LED’s need to sit through so it’ll all end up looking fairly neat.
Once the paint is fully dry it should have a kind of matt black look to it, as the Viking Boy wanted it to blend in with the rest of our “home cinema” devices that it would be interacting with.
While I was waiting for the first layer of paint to dry I decided to get on with another project I’ve been thinking about.
One of the difficulties with trying to make historically accurate clothing is that a lot of the fabric used during the 19th century (including even some colours) just aren’t fashionable or produced any longer. So when reading about regency gowns made of sprigged muslin I realised that it’s incredibly difficult to actually find any muslin fabric printed or embroidered with sprigs sold per meter.Here’s an example of sprigged muslin used in a Regency gown from 1818.

So I’ve been thinking of a way of perhaps printing or making my own (albeit on a very small scale) then I remembered that about 2 years ago I bought this stuff called Image Maker by Dylon
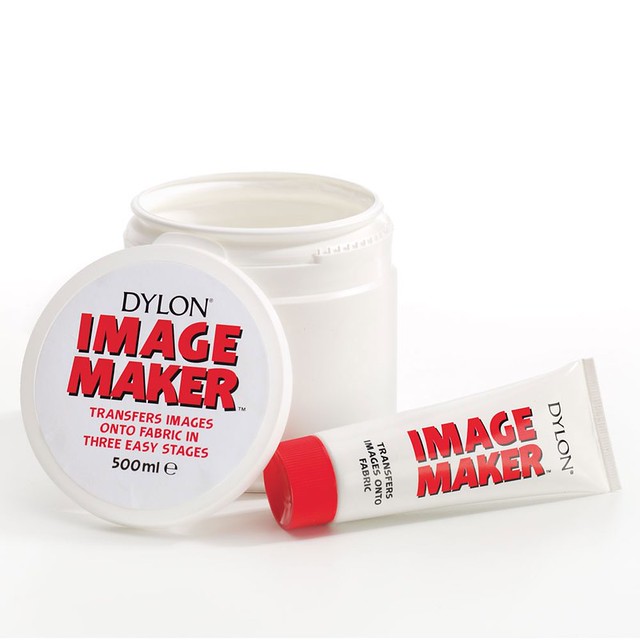
I’ve tried it a couple of times in the past but didn’t actually follow the instructions like I should have so it failed a bit lol so this time I decided to actually do the thing properly!
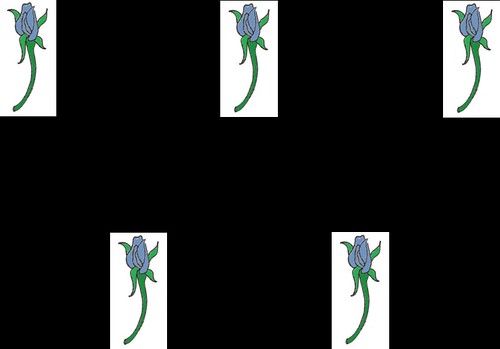
First, I found a basic image of a flower/rosebud sprig and coloured it in good old MS Paint


I then used publisher to create the pattern I wanted on the fabric like this:
As I’m planning on making another Regency gown at some point and working on a Regency spencer I decided to test out the design on two different fabrics: one an unbleached calico that I can use as a lining for my spencer and the other some white muslin that will be the basis of my next gown.
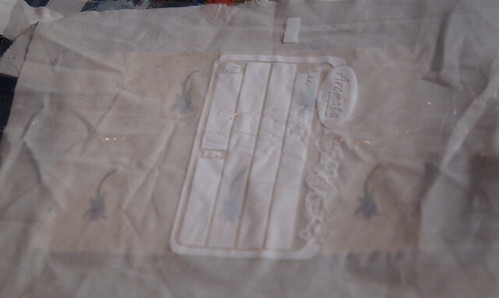

The way the image maker works is that you print out your chosen image mirrored on just basic printer paper. Then you paint on a thick layer of the paste over the image that you want to transfer, so I just painted on each individual rose. You have to use a lot of paste, almost to the point where you can’t see the image anymore. You then press onto the fabric and using a rolling pin, press it fully out making sure to get rid of any air bubbles or wrinkles. I used a plastic bag underneath the fabric to stop the excess paste going everywhere (explaining the weird plastic bag in the photos above!) I left them to dry for a few hours before turning it over to see the paper side.

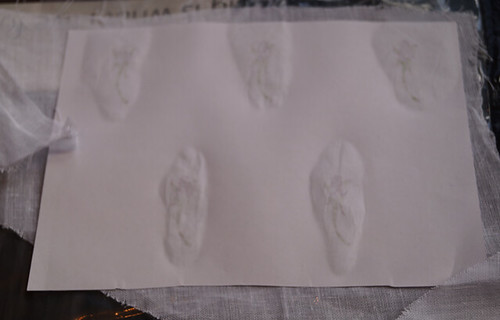
As you can see from the photos the paper is only stuck to the fabric at the image/roses.
Unfortunately I have to wait at least 4 hours or overnight before I can start working on peeling off the paper so I’ll have to wait until tomorrow to see if my experiment has worked! If it does then I think I will buy more of the image maker and do the whole thing on a larger scale, if not it’s back to the drawing board.
In other news, I’ve found the first exhibition I want to attend for my blog series. It opens on the 18th April at Kelvingrove Art Gallery and Museum and focuses on the Georgians in Glasgow. It’s called “How Glasgow Flourished” and essentially focuses on the lives of people living and working in Glasgow during the 18th and early 19th Century. I’m quite excited to see some costume pieces but also to see some specific pieces about the working classes (something which I think is often lacking in exhibitions)
While this post hasn’t really focused on pushing forward a good mood, I have at least enjoyed my Monday. Have you? Let me know in the comments how your day has been!
Until then
See you in the future! ♥
