
This past week I’ve been working on an order for an 18th century chemise and set of pocket hoops so I figured that I could document my process of making and turn it into a ready-made project post for you all!
A chemise is the first layer of clothing or underwear. This sits next to the skin and is used as a protective barrier against chafing of the corset but also protects the outer garments from sweat and body odour. Chemises are most often made of cotton or linen, which can be washed regularly and easily unlike most other layers of clothing which makes it perfect to wear close to the skin.
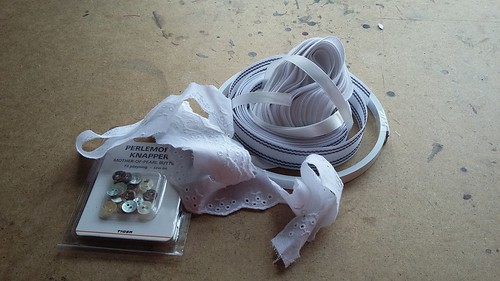
To start I gathered all my materials. This particular order uses unbleached calico which is super easy to work with; basic cotton tape, waist band petersham and plastic coloured steel boning, I also use some decorative broderie anglaise lace and satin ribbon for the chemise.

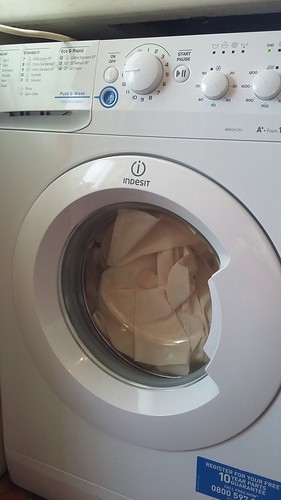
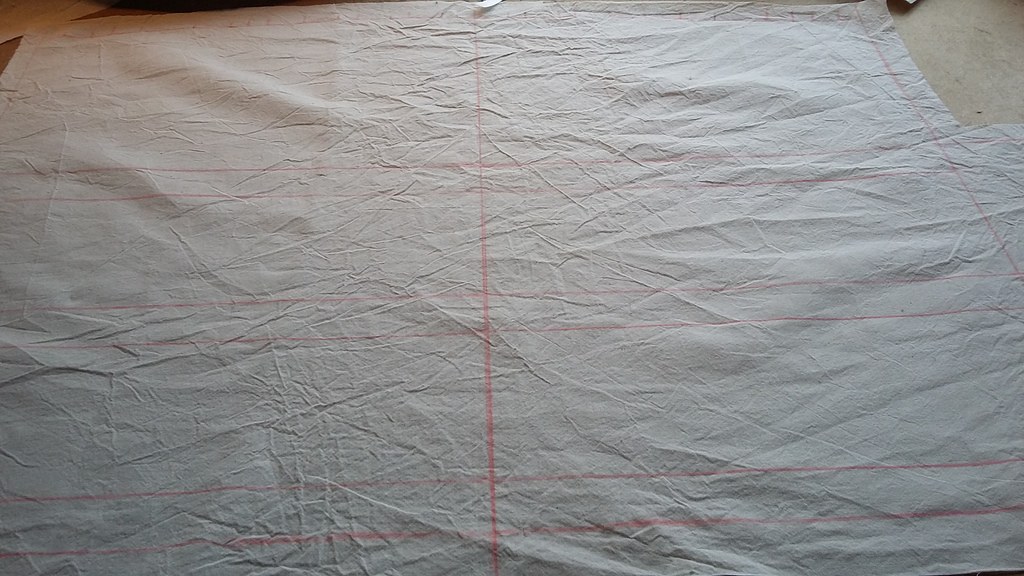
First thing I usually do is to prep the fabric. A lot of fabrics like silk and wool will be dry-clean only once made up into the costumes but the cotton ones can usually be washed in a machine by the buyer so I prewash the fabric in order to allow any shrinkage to happen before sewing but also to remove any coating that the manufacturers can sometimes use.
Once the fabric has been washed and dried it’s time to iron the crap out of it. One lesson I’ve always carried with me from college is to iron, iron and iron while sewing. It’s so important to have properly pressed fabric before pattern cutting and while sewing to keep your seams flat and well set.
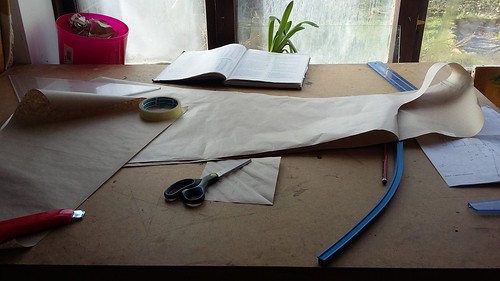
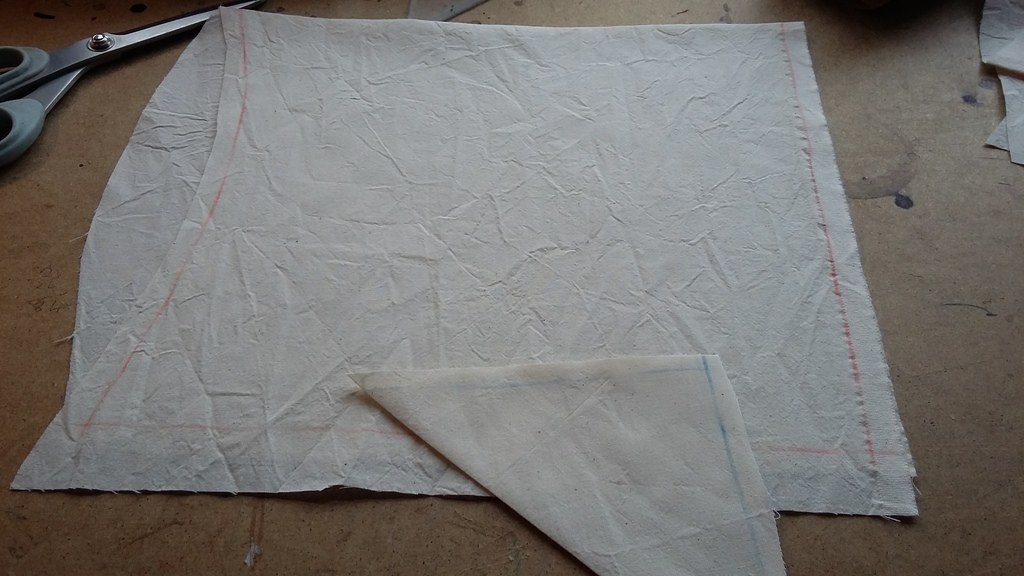
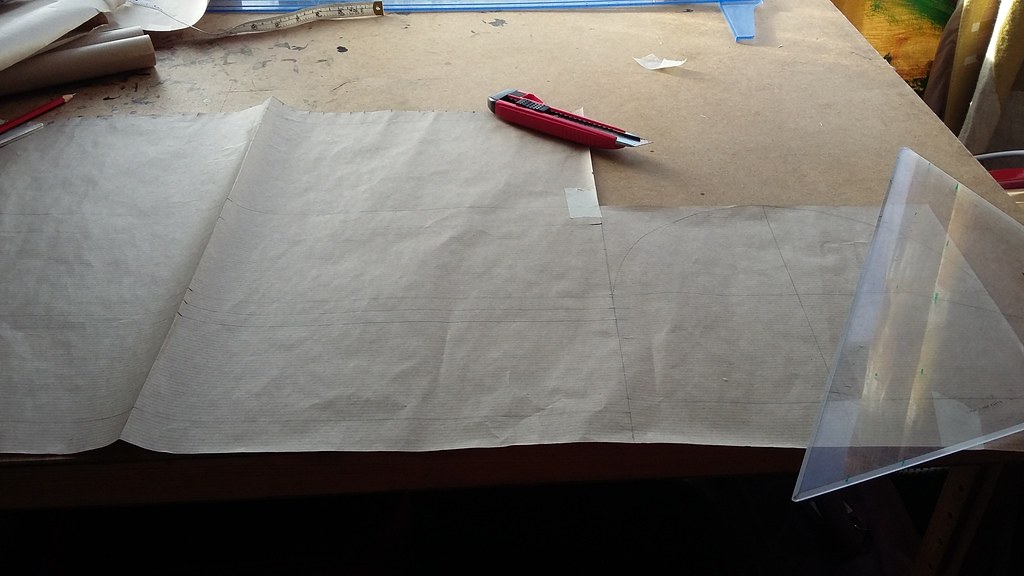
While I was waiting for the fabric to wash and dry I draft up the patterns. The chemise and hoops patterns are actually really simple, lots of straight lines and square gussets. The most complicated bits come from doing the neck of the chemise and the seams of the hoops once the steels are in place.
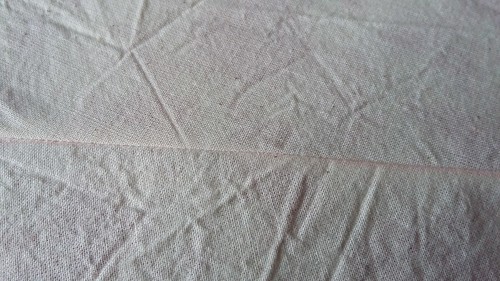
I used a few different seam types for the chemise in order to keep the raw edges tucked away and neat. It also gives it a very nice finish. First, for the side seams I use French seams. This is done by stitching along the seam line a few millimetres away from the line itself on the right side of the fabric (so the outside of the chemise) then I trim down the seam allowance to just at the line of stitching; turn the chemise inside out and press the seams folded flat. I then stitch down the actual seam line on the wrong side (the inside of the chemise) enclosing the rough edges of the fabric.


For the sleeves I use felled seams, this time of seam can be seen in loads of 18th and 19th century clothing. It’s really sturdy for areas such as sleeves or corset seams. Again seams are sewn on the outside of the chemise; then one side is trimmed down to the edge of the stitching. The largest edge of seam allowance is then folded and pressed over and edge-stitched along the length of the first stitch line.
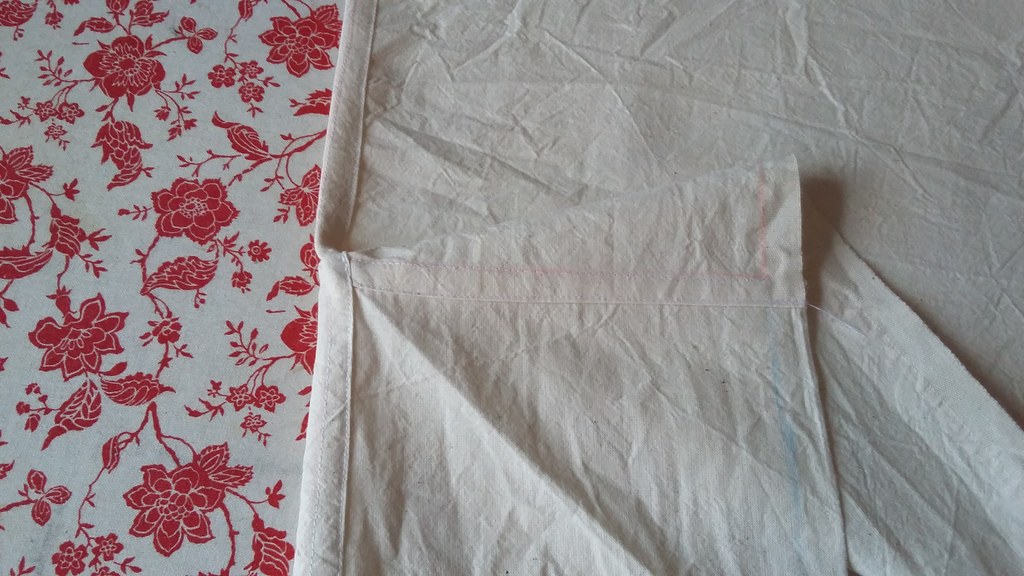

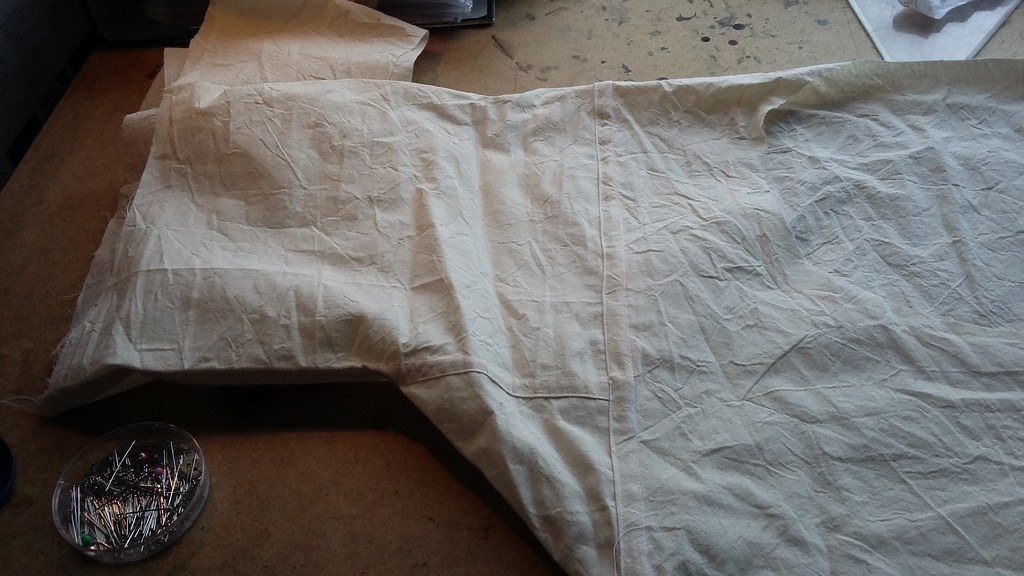
The sleeve is made with a square gusset attached to the underarm to allow movement while wearing the chemise.
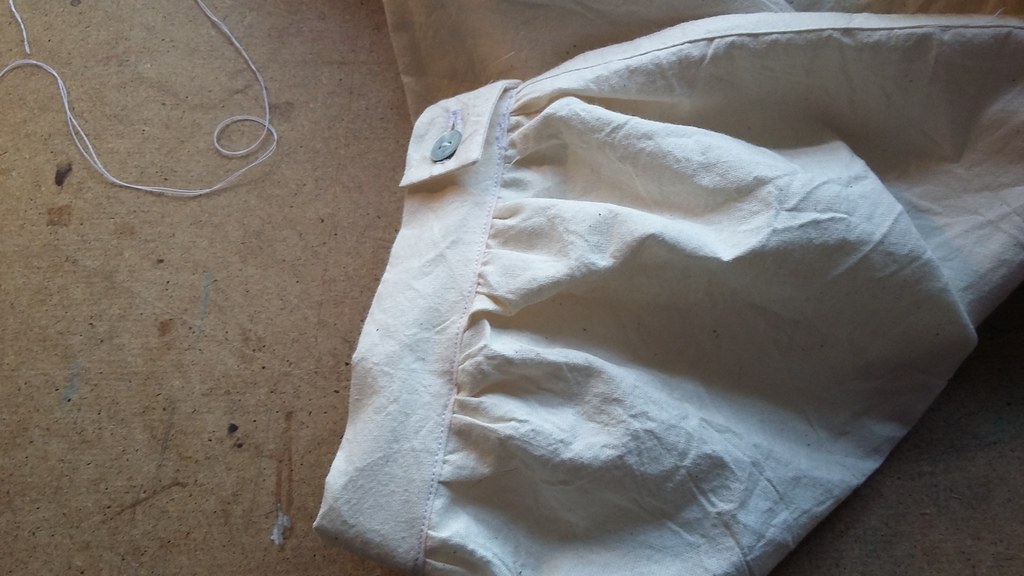
Once the sleeves are attached I make the cuff and gather the sleeve it fit. This can get very fiddly as it’s quite a tight space and isn’t easy to fit through the machine easily. I cheat slightly here by doing machine buttonholes rather than handbound button holes which I often use as they are of course the most historically accurate.
The cuff is a very simple rectangle with extra added to allow for the overlap of the buttonhole.


The hem of the chemise is just a simple double rolled herm with one line of stitching, this hides all the raw edges and gives and even line to the outside of them hem.
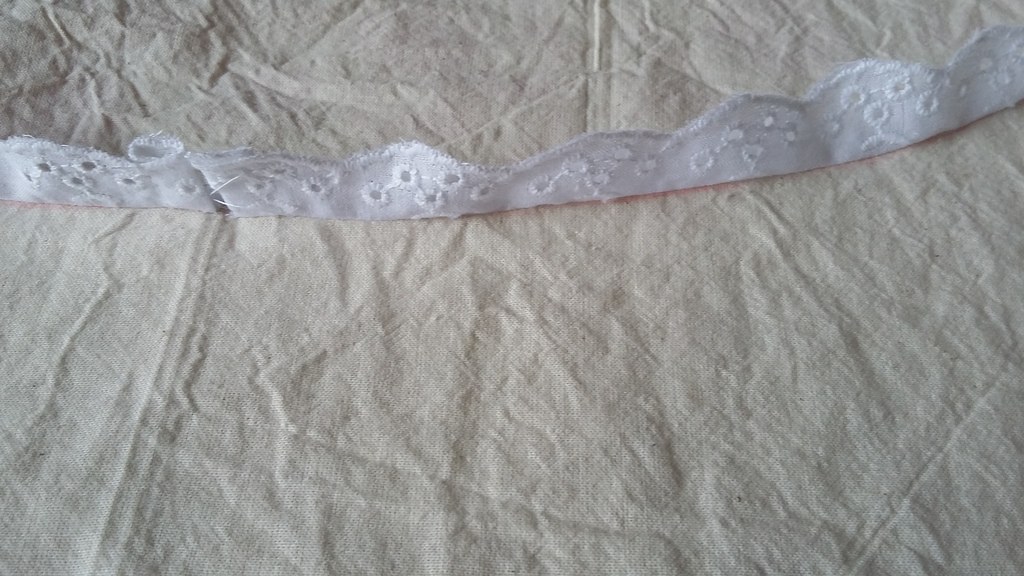
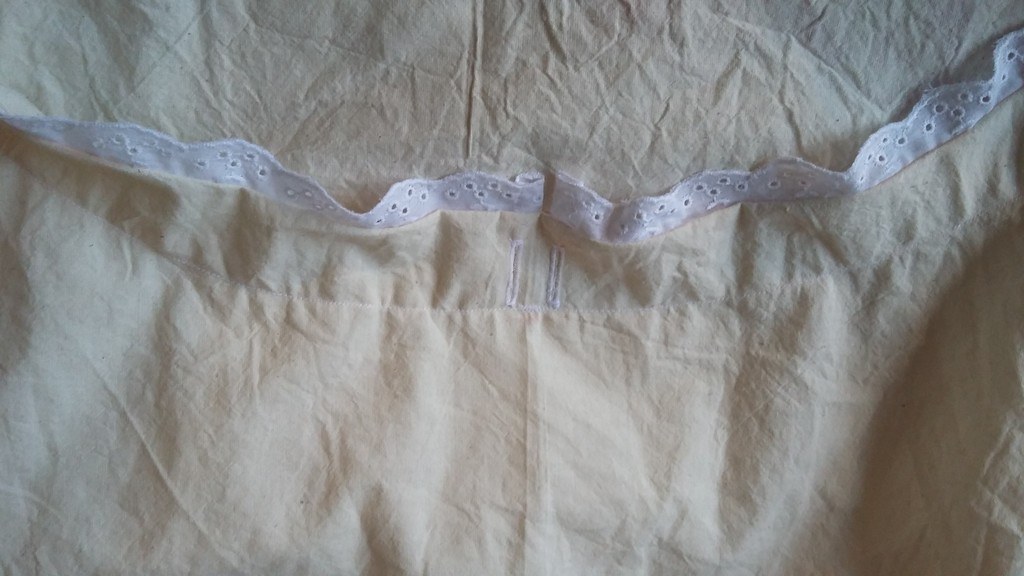
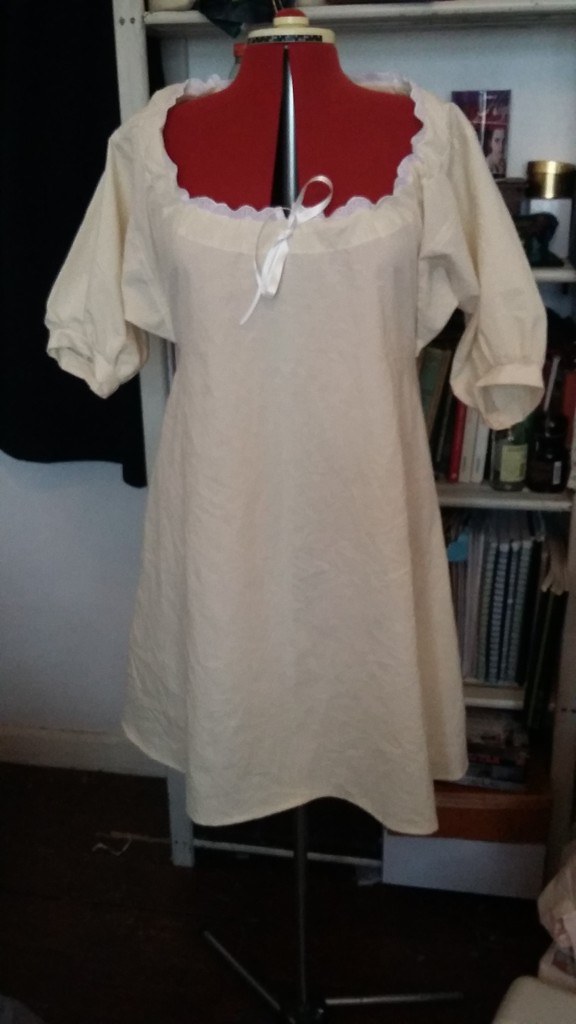
The final piece of the chemise is the neckline. The pattern is cut in a wide oval, higher at the back than the front; decorated with broderie anglaise and finished with a ribbon drawstring. The ribbon is drawn through the fabric channel by creating small button holes on either side of the centre front.
A corset would be the next layer however I as I didn’t make one for this order it was next on to the pocket hoops.
Pocket hoops or skirt supports were worn over the corset and chemise but under any petticoats. These particular hoops give a wide curve to the hips while not adding any additional bulk at the front or back. This shape is most often seen in mid-late 18th century gowns such as the robe a l’anglaise sold in my shop!

As this is still an underwear item I make it in unbleached cotton, because of the steel boning it can’t easily be thrown in a washing machine but as they are not designed to be seen it’s very common to use basic cotton without any fancy decorations.
First we have the very basic pattern. Again this is most rectangles and pleating to shape.

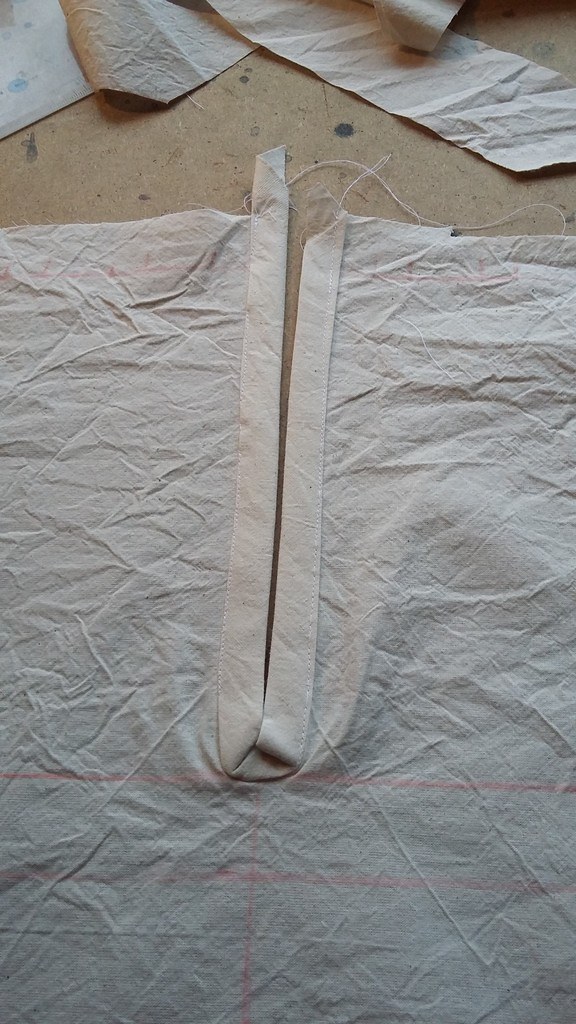
First I cut an opening down the centre of the pannier. This will eventually allow a “pocket” gap that you can slip your hand through. It was common throughout the 17th and 18th century for women to wear pockets under their gowns, worn under the hoops or petticoats a gap would be made in the skirts to allow a discreet hand to slip into the pockets and extract money or small precious items when necessary.
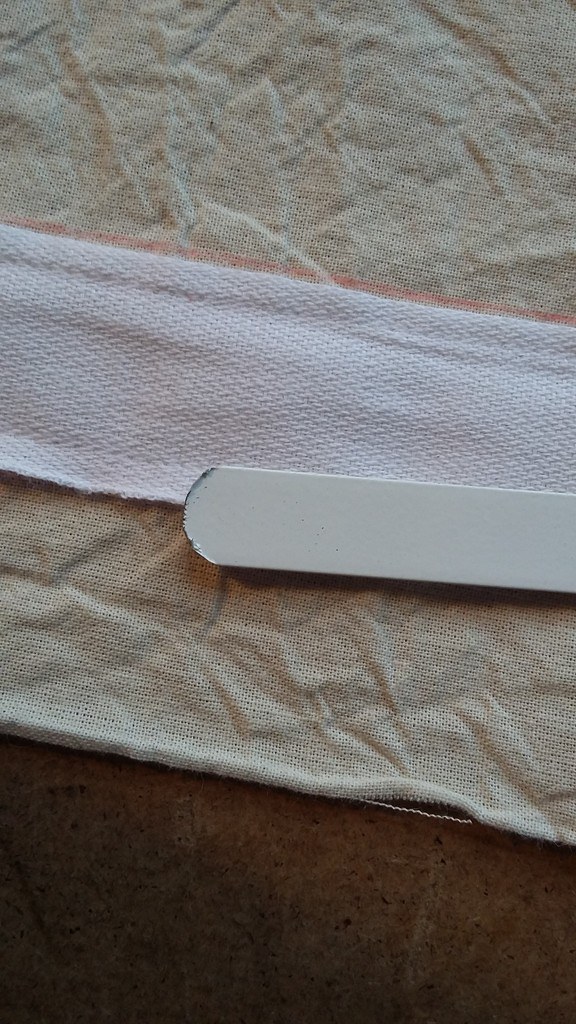
3 strips of cotton tape are then stitched horizontally to the panier; this creates the channels that will later hold the steel boning.
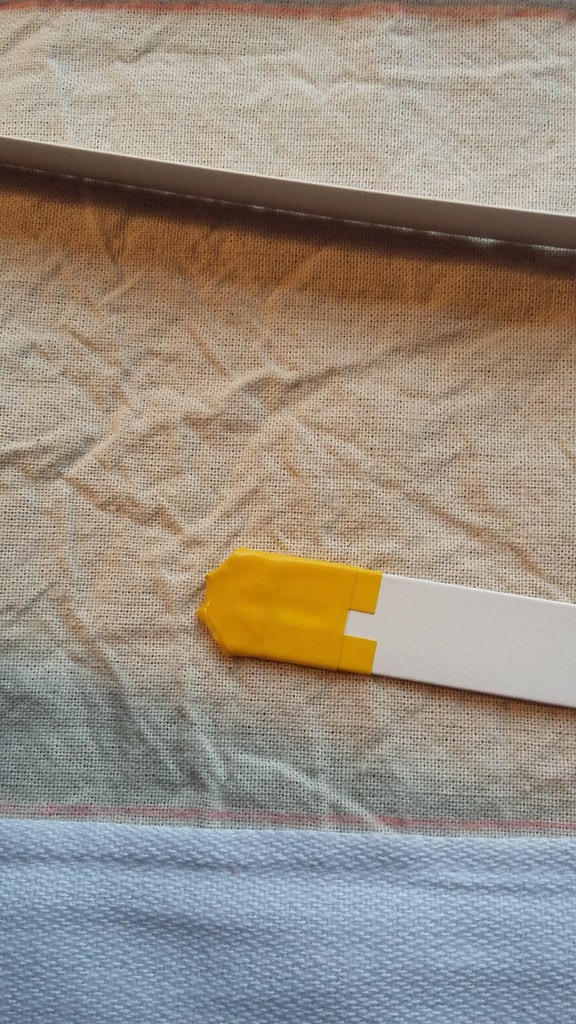
Next I measure and cut the steel. Recently I have found a neat trick of using an electric sander to sand down the edges of the cut steel to avoid the corners catching on the material and wearing away the casings. For extra protection I wrap the ends in electrical tape.
Before inserting the steels I attach the bottom piece and bind off all the rough edges. All the seams are on the inside but this avoids fraying and just looks nicer.

The steels are then inserted into the casing and the final seam is sewn and bound off. The pannier now looks like slightly like a greenhouse poly-tunnel.
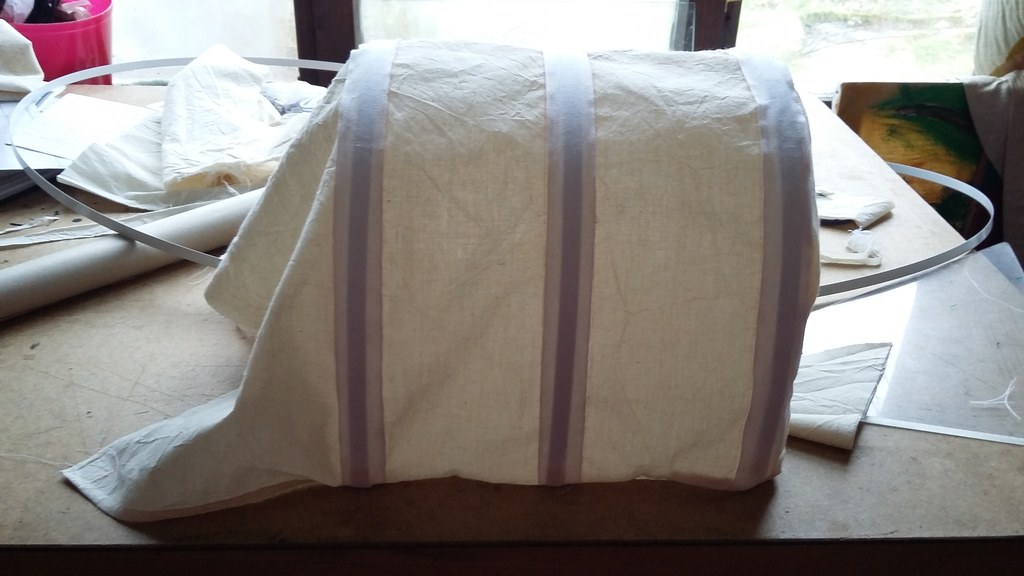
The next stage is to pleat the top of the panier on to the waistband petersham. I have seen other patterns and designs that use a drawstring idea rather than petersham for the waistband but I like this was as it gives a good amount of strength but also keeps the shaping exactly the same with every wear.
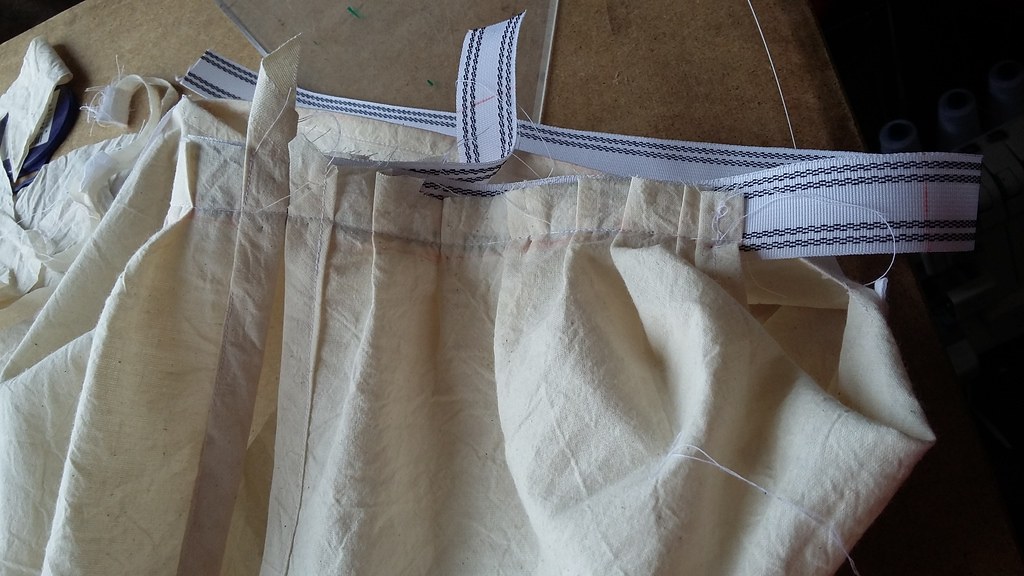
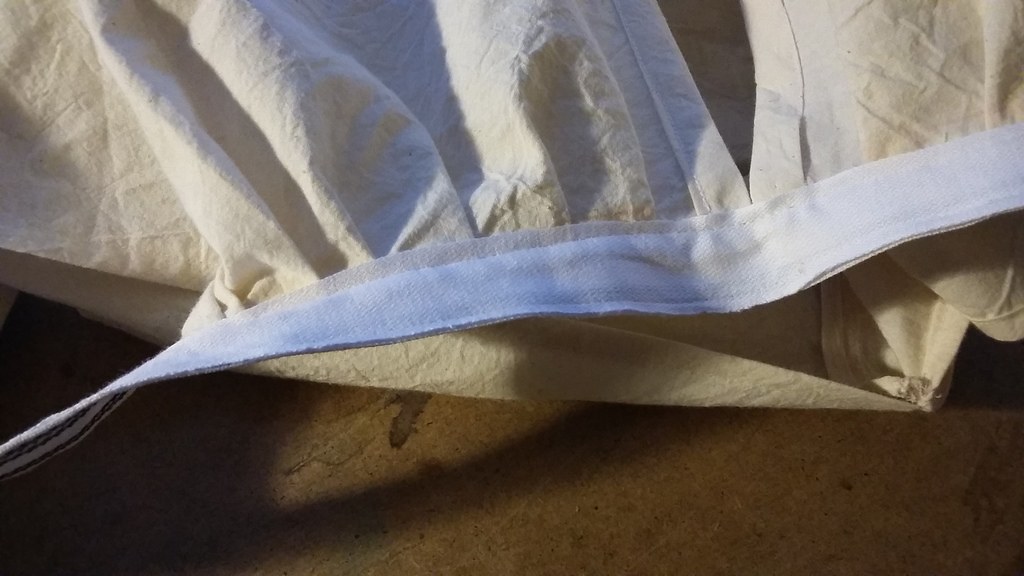
The raw edge is then trimmed down close to the stitch line. I repeat the above steps with the second pannier. I now have a waistband with hoops that sit on either side of the body.
I then use more cotton tape over the petersham, one to hide the raw edges and also to give a smooth and clean waist band.
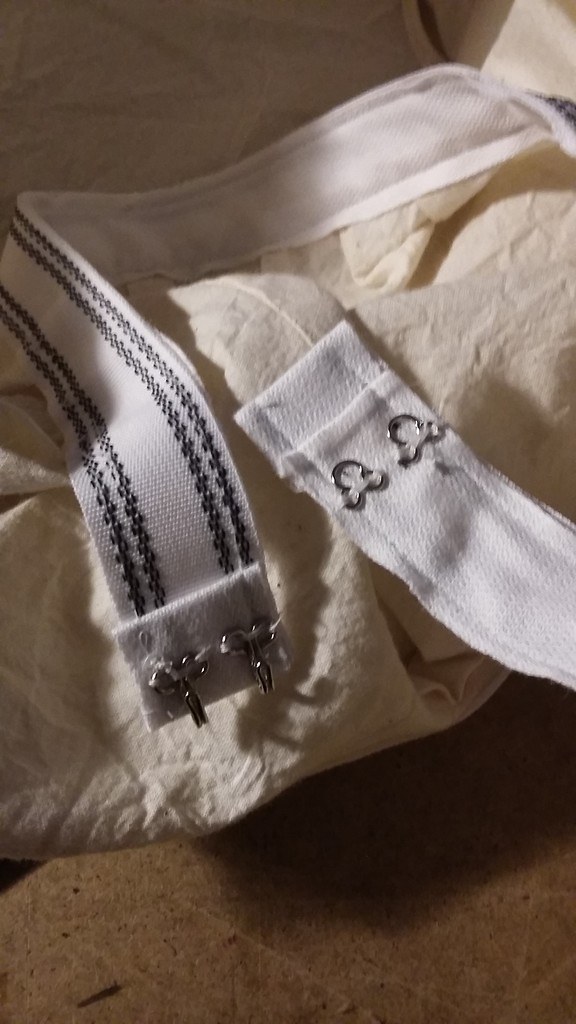
A couple of metal hook and eyes are added to the front edges and we’re finished. A complete pair of 18th century pocket hoops to go with our chemise!

Please ignore the messy shelves and hooks behind the mannaquin. I own far too much and don’t have anywhere near enough storage 😀

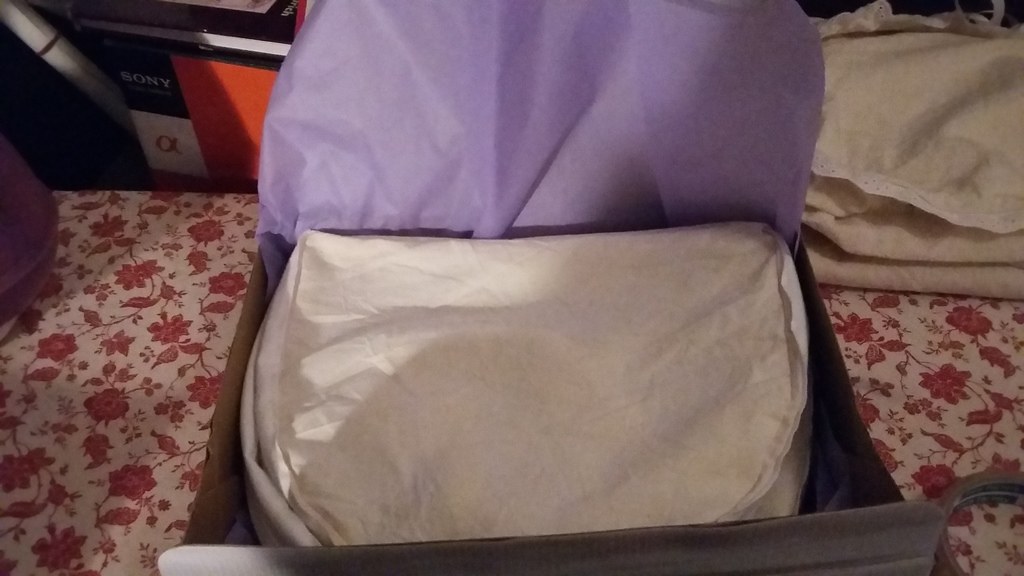
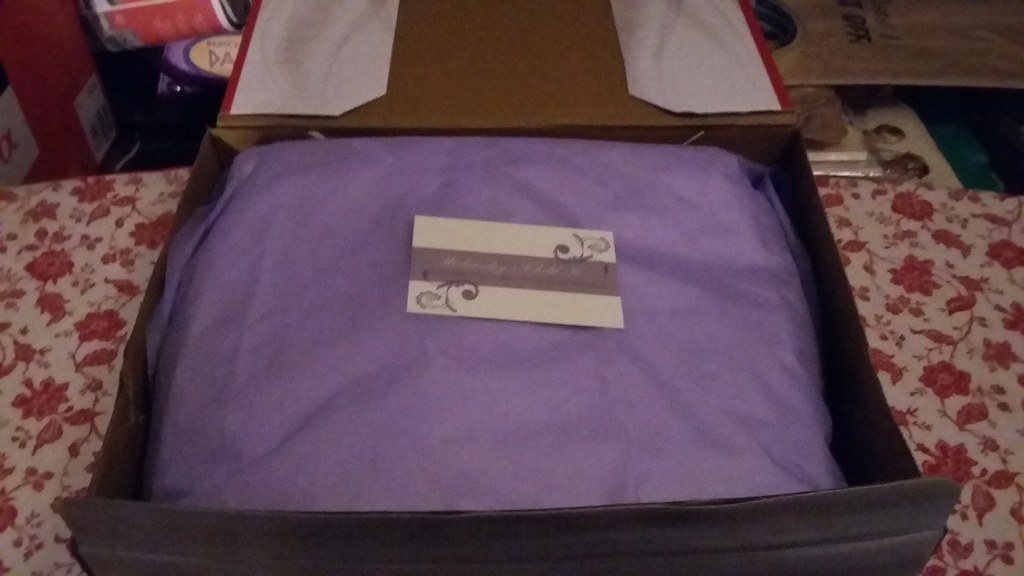
After giving everything another good press with the iron and another check over to remove any last loose threads it’s time to pack the order up. I start with a couple of layers of tissue paper then in go the folded hoops. Another couple of layers of tissue and then the chemise is neatly folded.
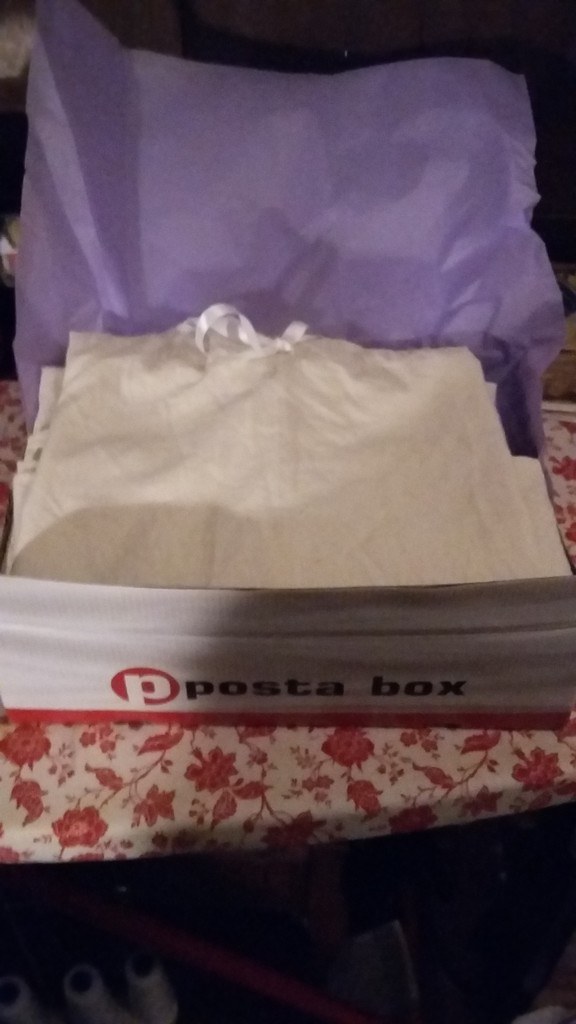
Finally I slip in a business card and seal the box up ready for posting!
I hope you’ve enjoyed a little peak into what goes into my orders and how I spend my sewing days! Good Mood Mondays will be back again this week and I’ll have the next exhibition post up soon too!
So until then,
See you in the future! ♥
